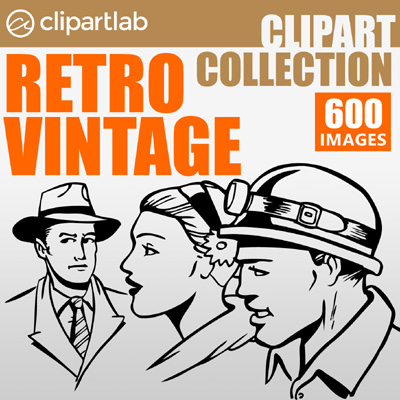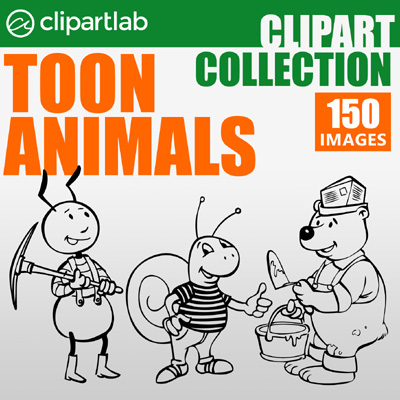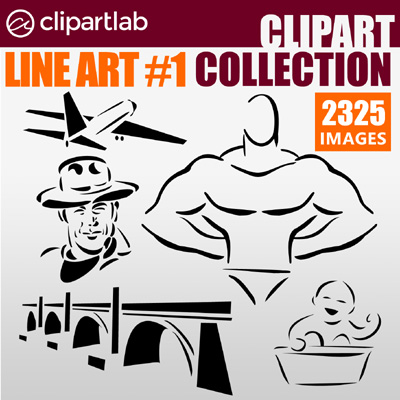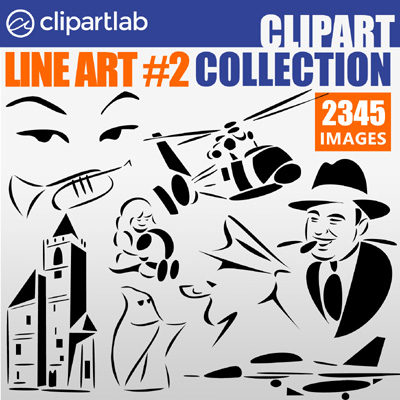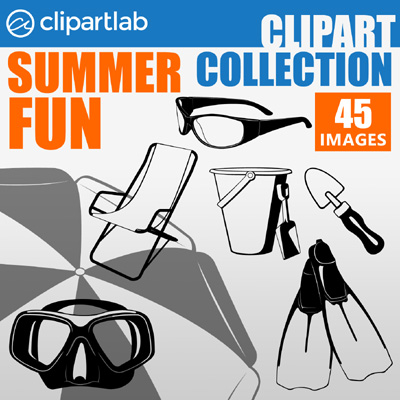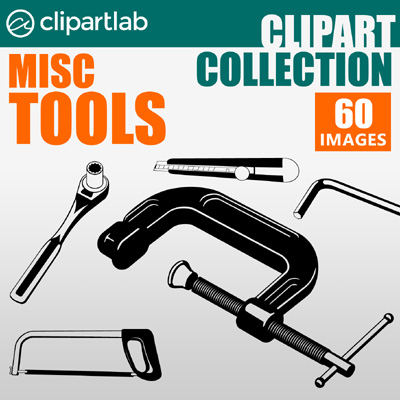
ClipartLab Collections
Over 10,000 vector images in 20 great sets
ClipartLab Collections
Over 10,000 vector images in 20 great sets

Every of the images is delivered in SVG, EPS and PNG format. SVG and EPS images are 100% vector graphics - scalable without any quality loss and editable in most of vector graphics application. SVG and PNG images are ready to use on the web straight out of the box. All images are transparent and compatible with most operating systems and hardware.
150 technically perfect vector icons are delivered free of charge together with each colection! Each icon comes in 3 different variants and in all supported formats, making it a total of 1350 files plus a neat PDF catalog. This package will be automatically added to any of collections download at no additonal cost!